1
2
4
3
251
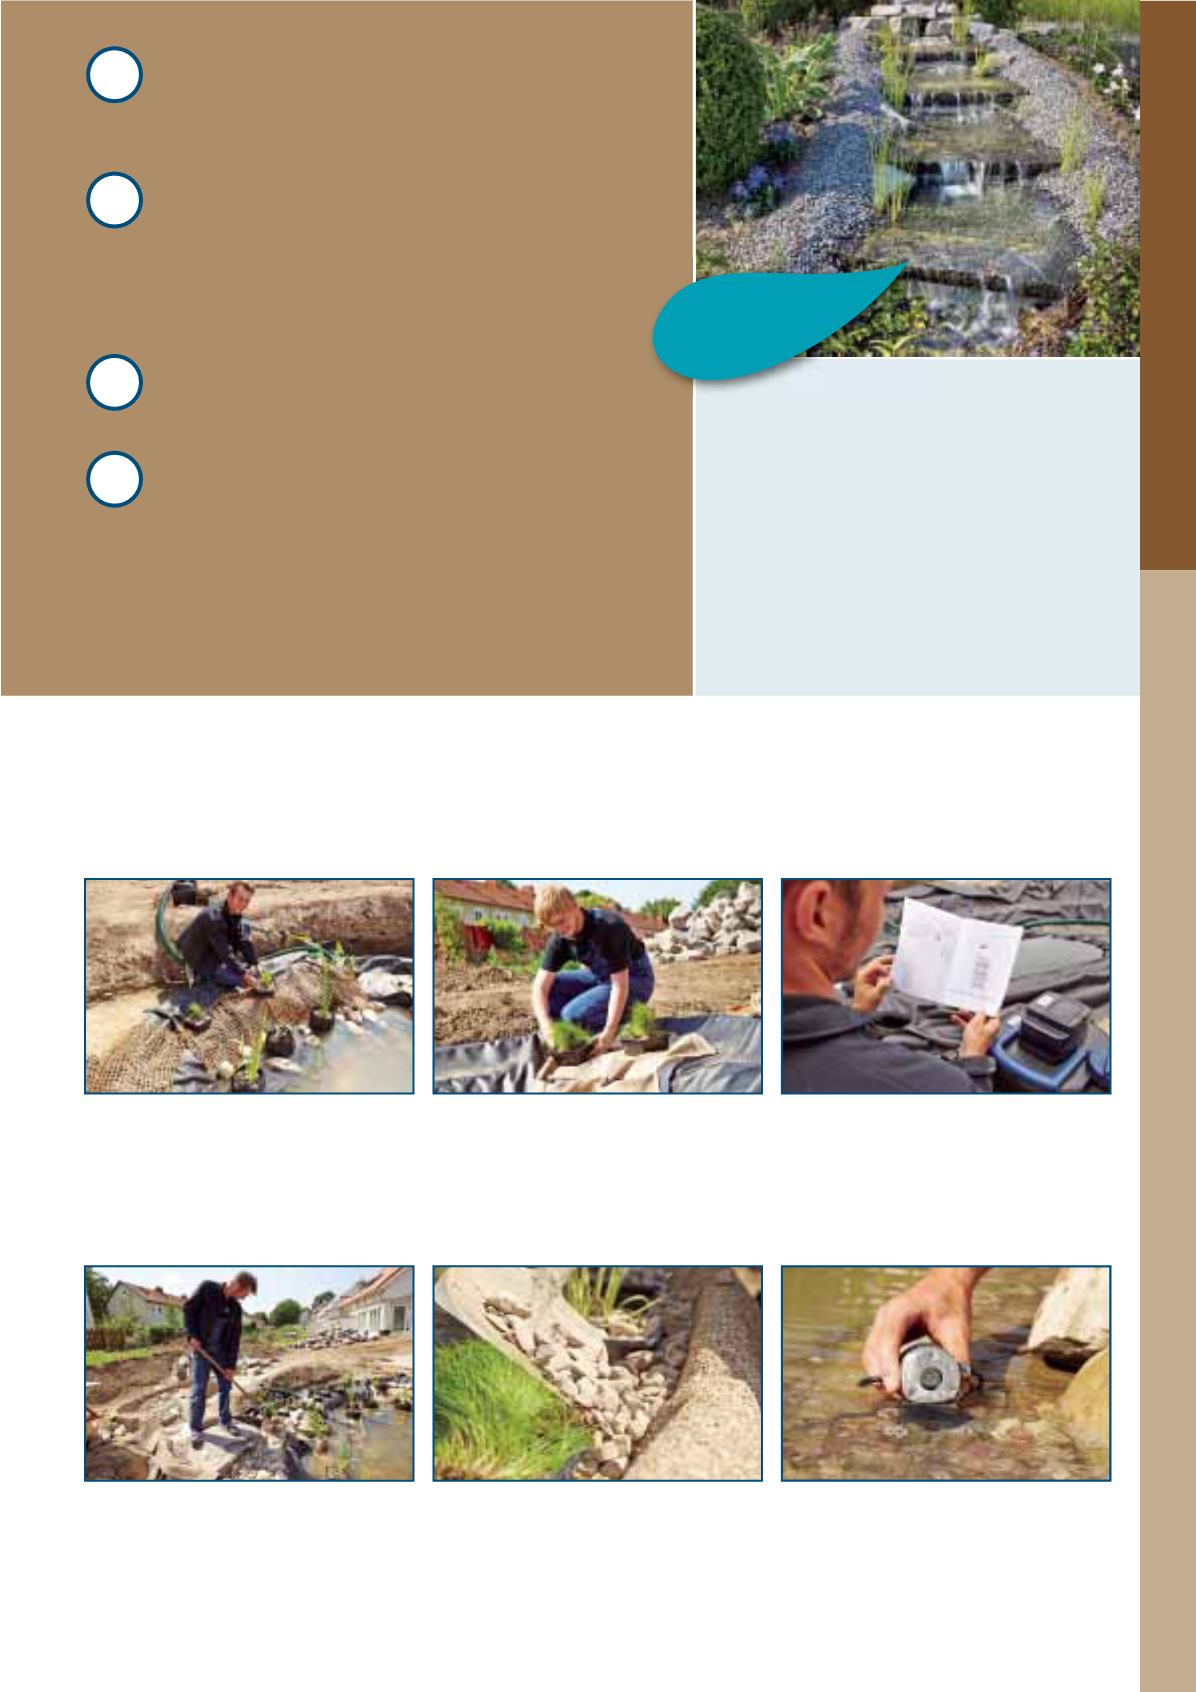
7. Planting on level areas
Lay out coconut mats for planting
level areas. They provide an optimal
opportunity for plants to take root.
8. Planting on steep areas
Steeper sections are planted using
marginal plant holders. Use large rocks
to first weigh the plant holders down so
that you can insert the plants.
9. Pond technology
Carefully read the instructions for
installing the OASE pond technology
(pumps, filters, lights) and follow
these instructions precisely.
DEEP WATER ZONE
This is where the filter and watercourse pumps,
or possibly pond drains are implemented.
MARSH ZONE
Offers space for plants and microorganisms and
makes an important contribution to nutrient
reduction in the pond. It is approx. 30–40 cm
deep and should be laid out as wide as possible.
MOIST ZONE
Ideal for lush embankment plants.
WATERCOURSES (OPTIONAL)
When selecting the location for the watercourse,
pay attention to different dam levels, dam depths,
as well as the overflows that are as large as
possible, so that additional movement and
oxygen comes into the pond.
10. Gravel and water
After the gravel, at last it is time to put
water in the pond: first fill it half full,
and then after the liner has completely
settled, fill the pond completely.
11. Edge area décor
The final step is to fill the edge area
with rocks (pebbles or gravel, etc.) and
to shape it as you desire.
12. Illumination
For atmospheric ambiance, in the evening
hours we recommend considering the
appropriate lighting from the outset.
Recommendation
The movement of water through water-
courses and waterfalls supplies the pond
with necessary oxygen.
The topsoil you removed for the garden
pond can be used to create a watercourse
or waterfall.
Slopes for a watercourse should not be
steeper than 40%.
Extras
POND CONSTRUCTION & LANDSCAPING
CREATING GARDEN PONDS


